Sailing knots · Hitch
How to Tie a Cleat Hitch
To tie a line off on a cleat, take a full turn round the base, cross over the top in a figure of eight, then finish with a locking hitch so the tail lies alongside the last crossing.
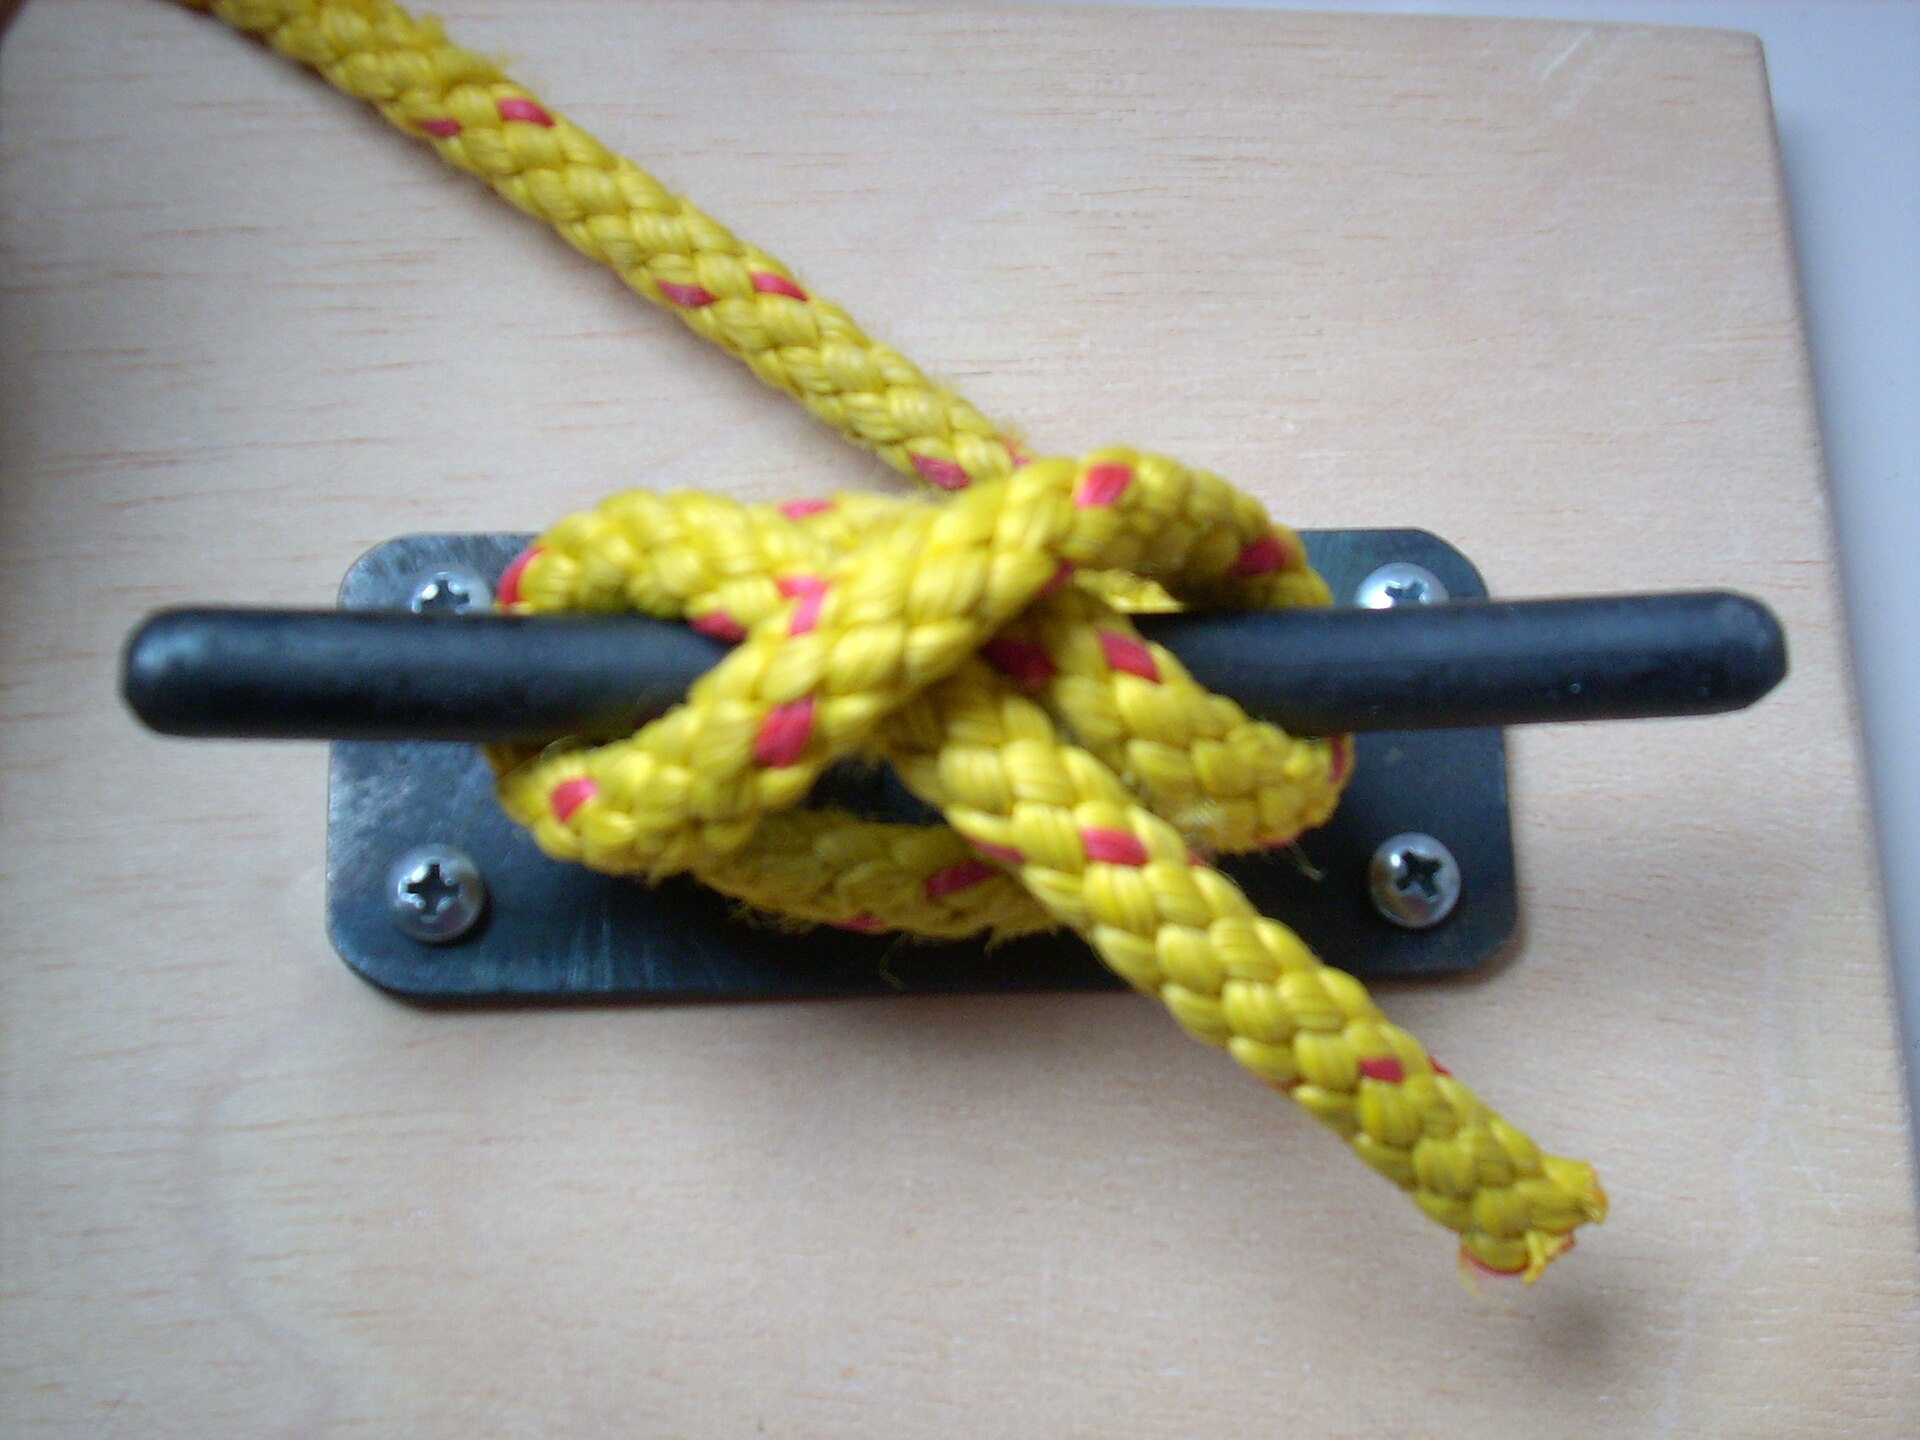
- Type
- Hitch
- Used for
- Securing a line to a deck cleat. Used constantly for docking, mooring, and sheet management.
- Strength retained
- Near full rope strength
How to tie a cleat hitch, step by step
- 1
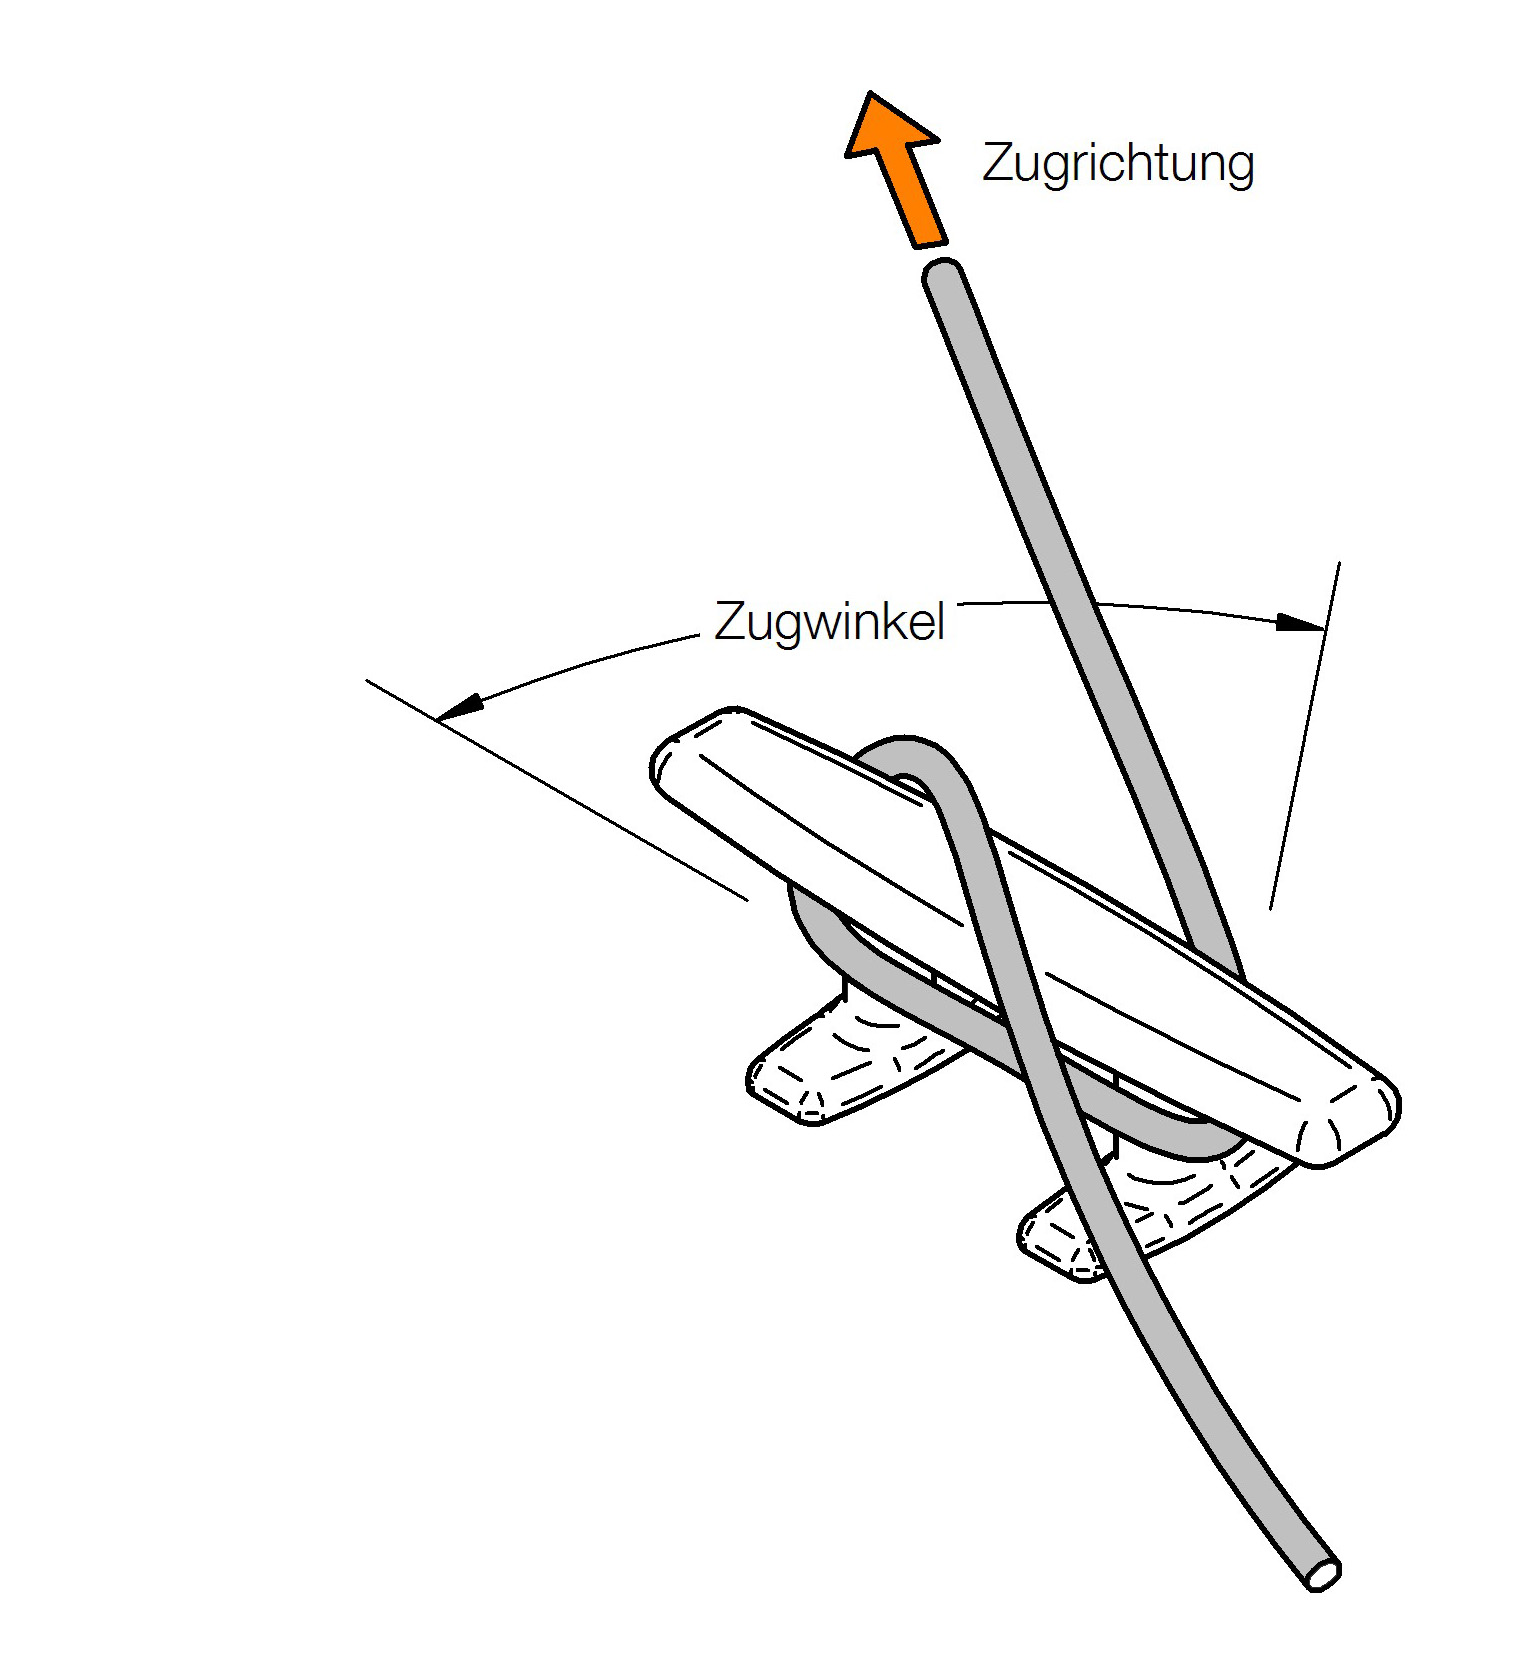
Lead in and take a turn
Bring the line to the far horn of the cleat and take a full turn round the base.
Andree Stephan, CC BY 3.0 - 2
Cross over the top
Take the line diagonally over the top of the cleat and round the other horn, making a figure-eight. One or two crossings is enough.
- 3
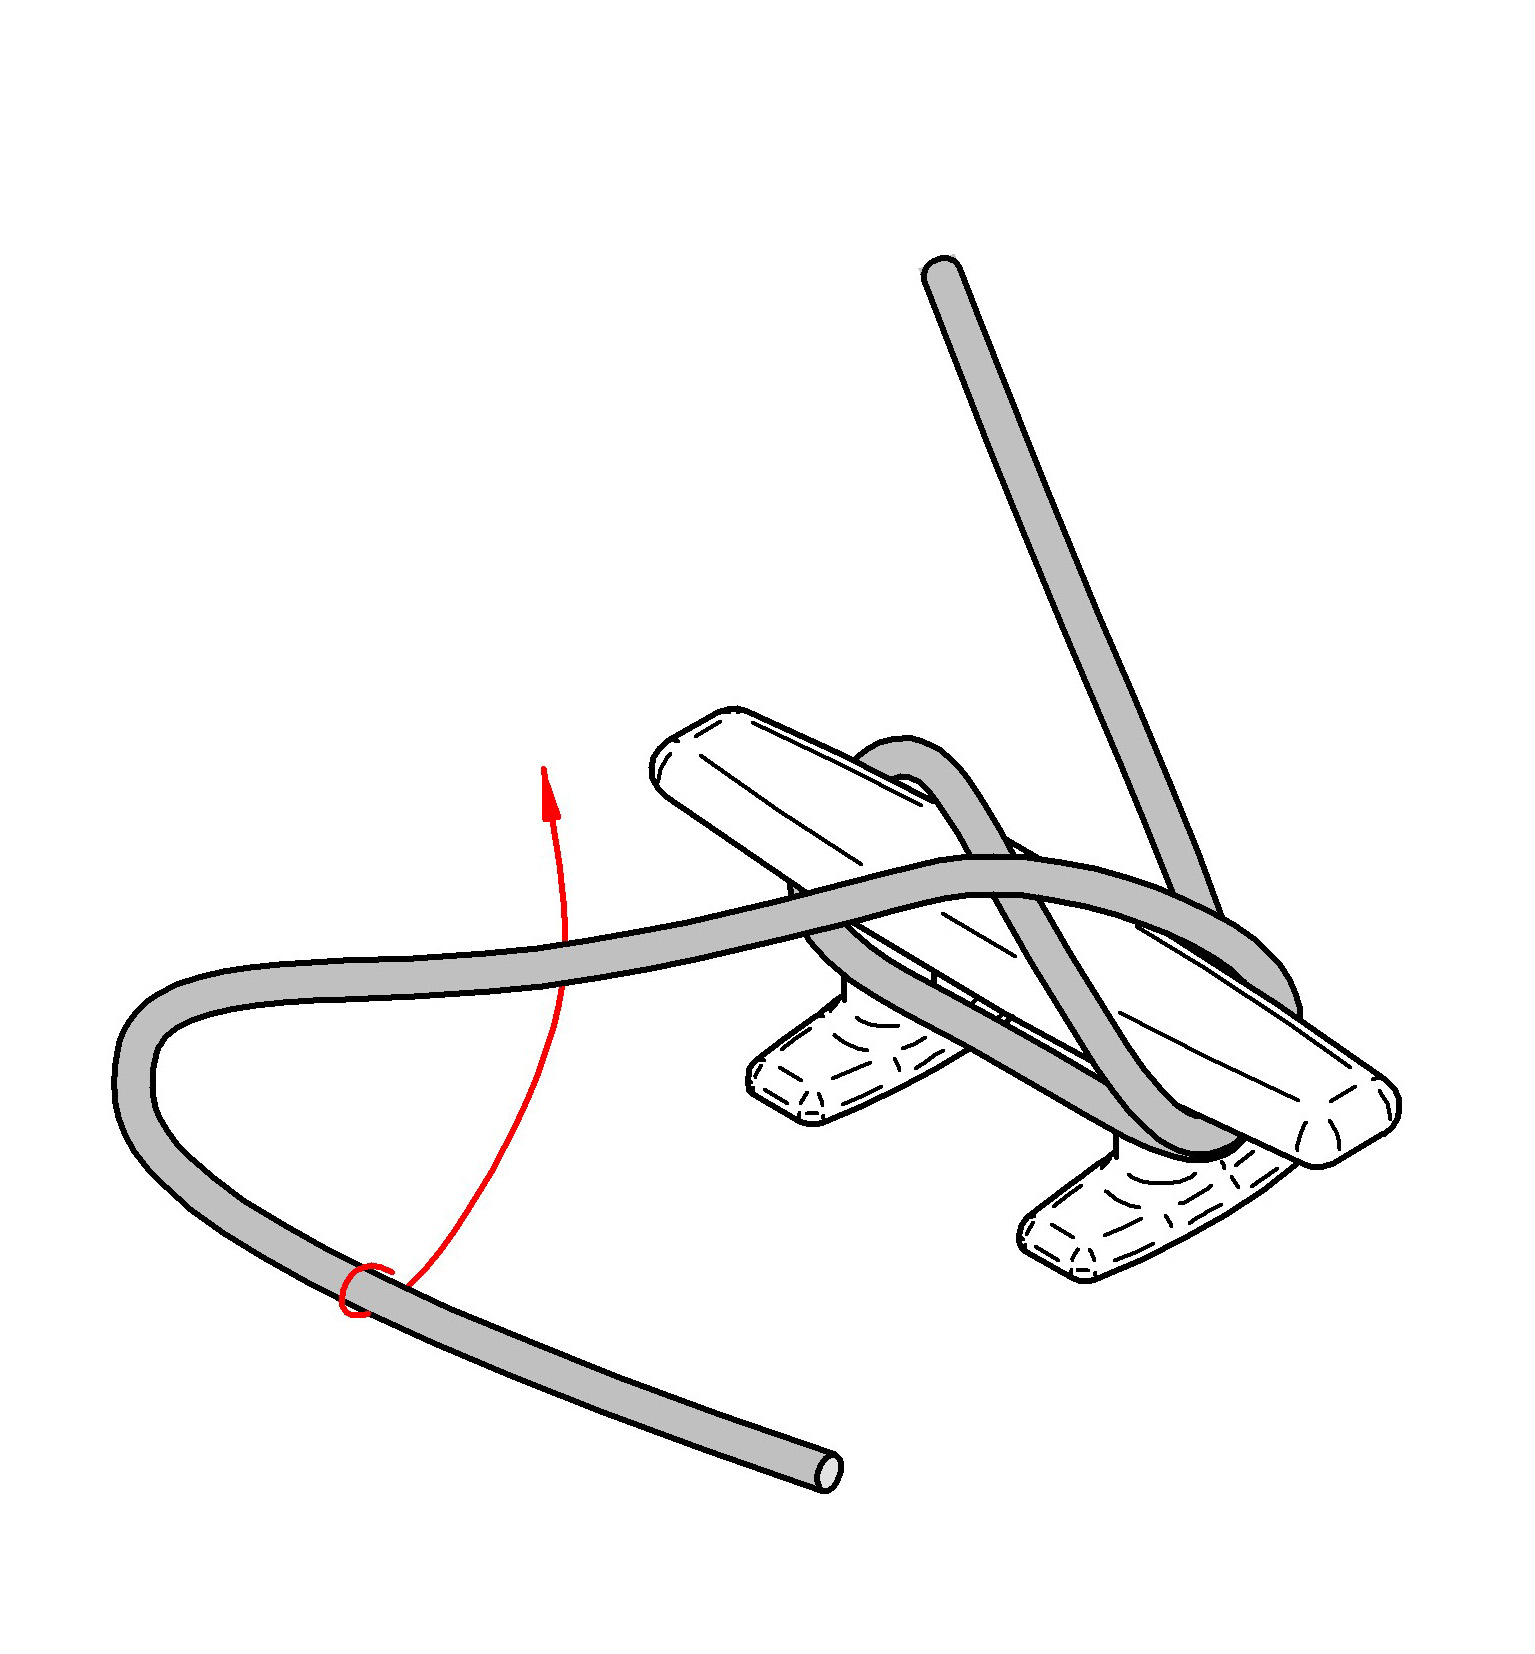
Twist a loop
Twist a loop into the line so the tail lies underneath the standing part.
Andree Stephan, CC BY 3.0 - 4
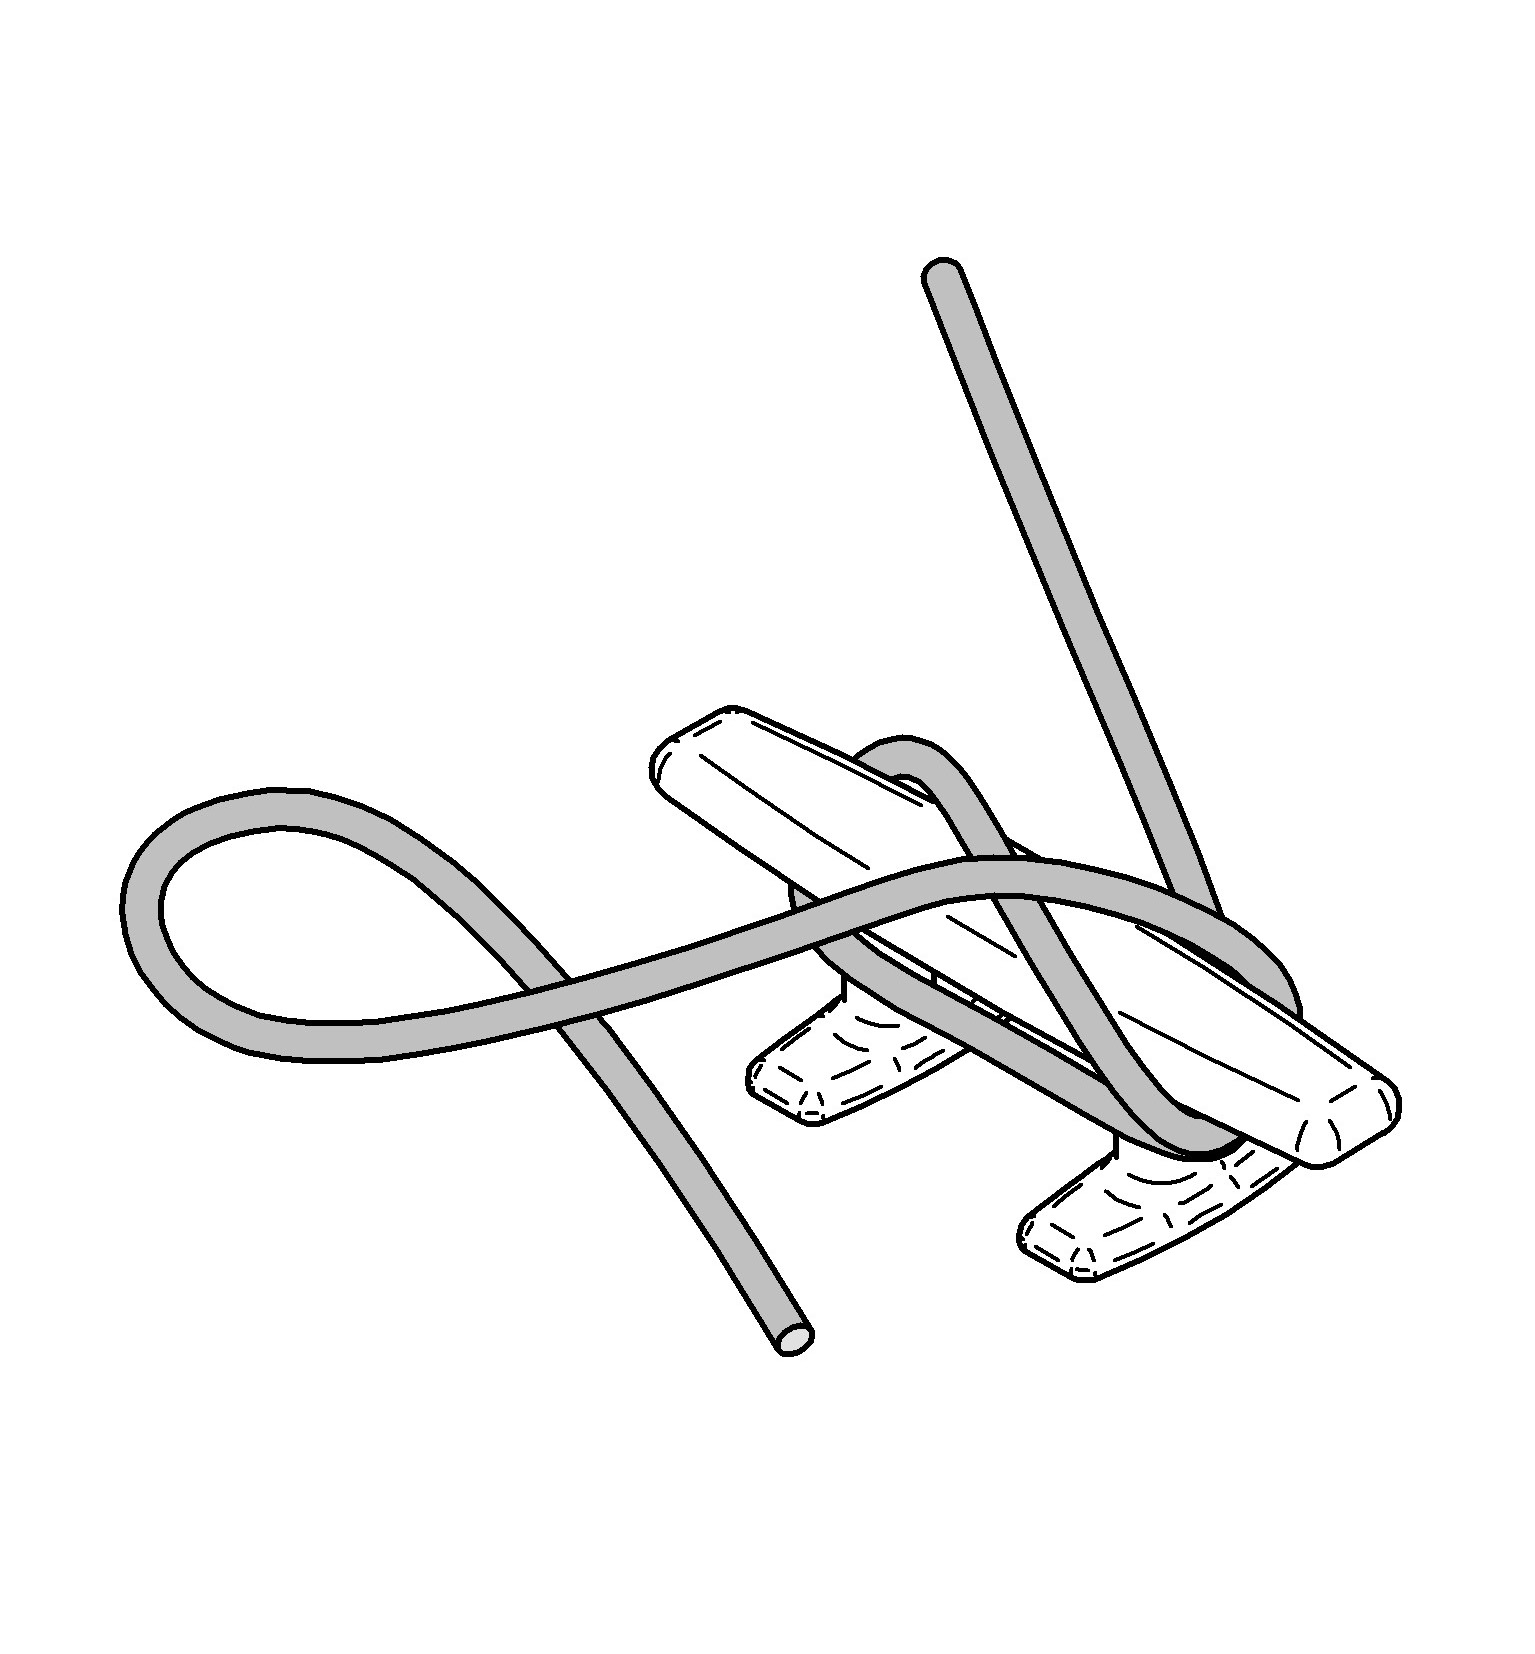
Drop it over the horn
Drop the loop over the horn, so the tail runs back under the last crossing.
Andree Stephan, CC BY 3.0 - 5
Pull tight
Pull the tail to lock the hitch. It should run parallel with the last crossing, never pointing toward the load.
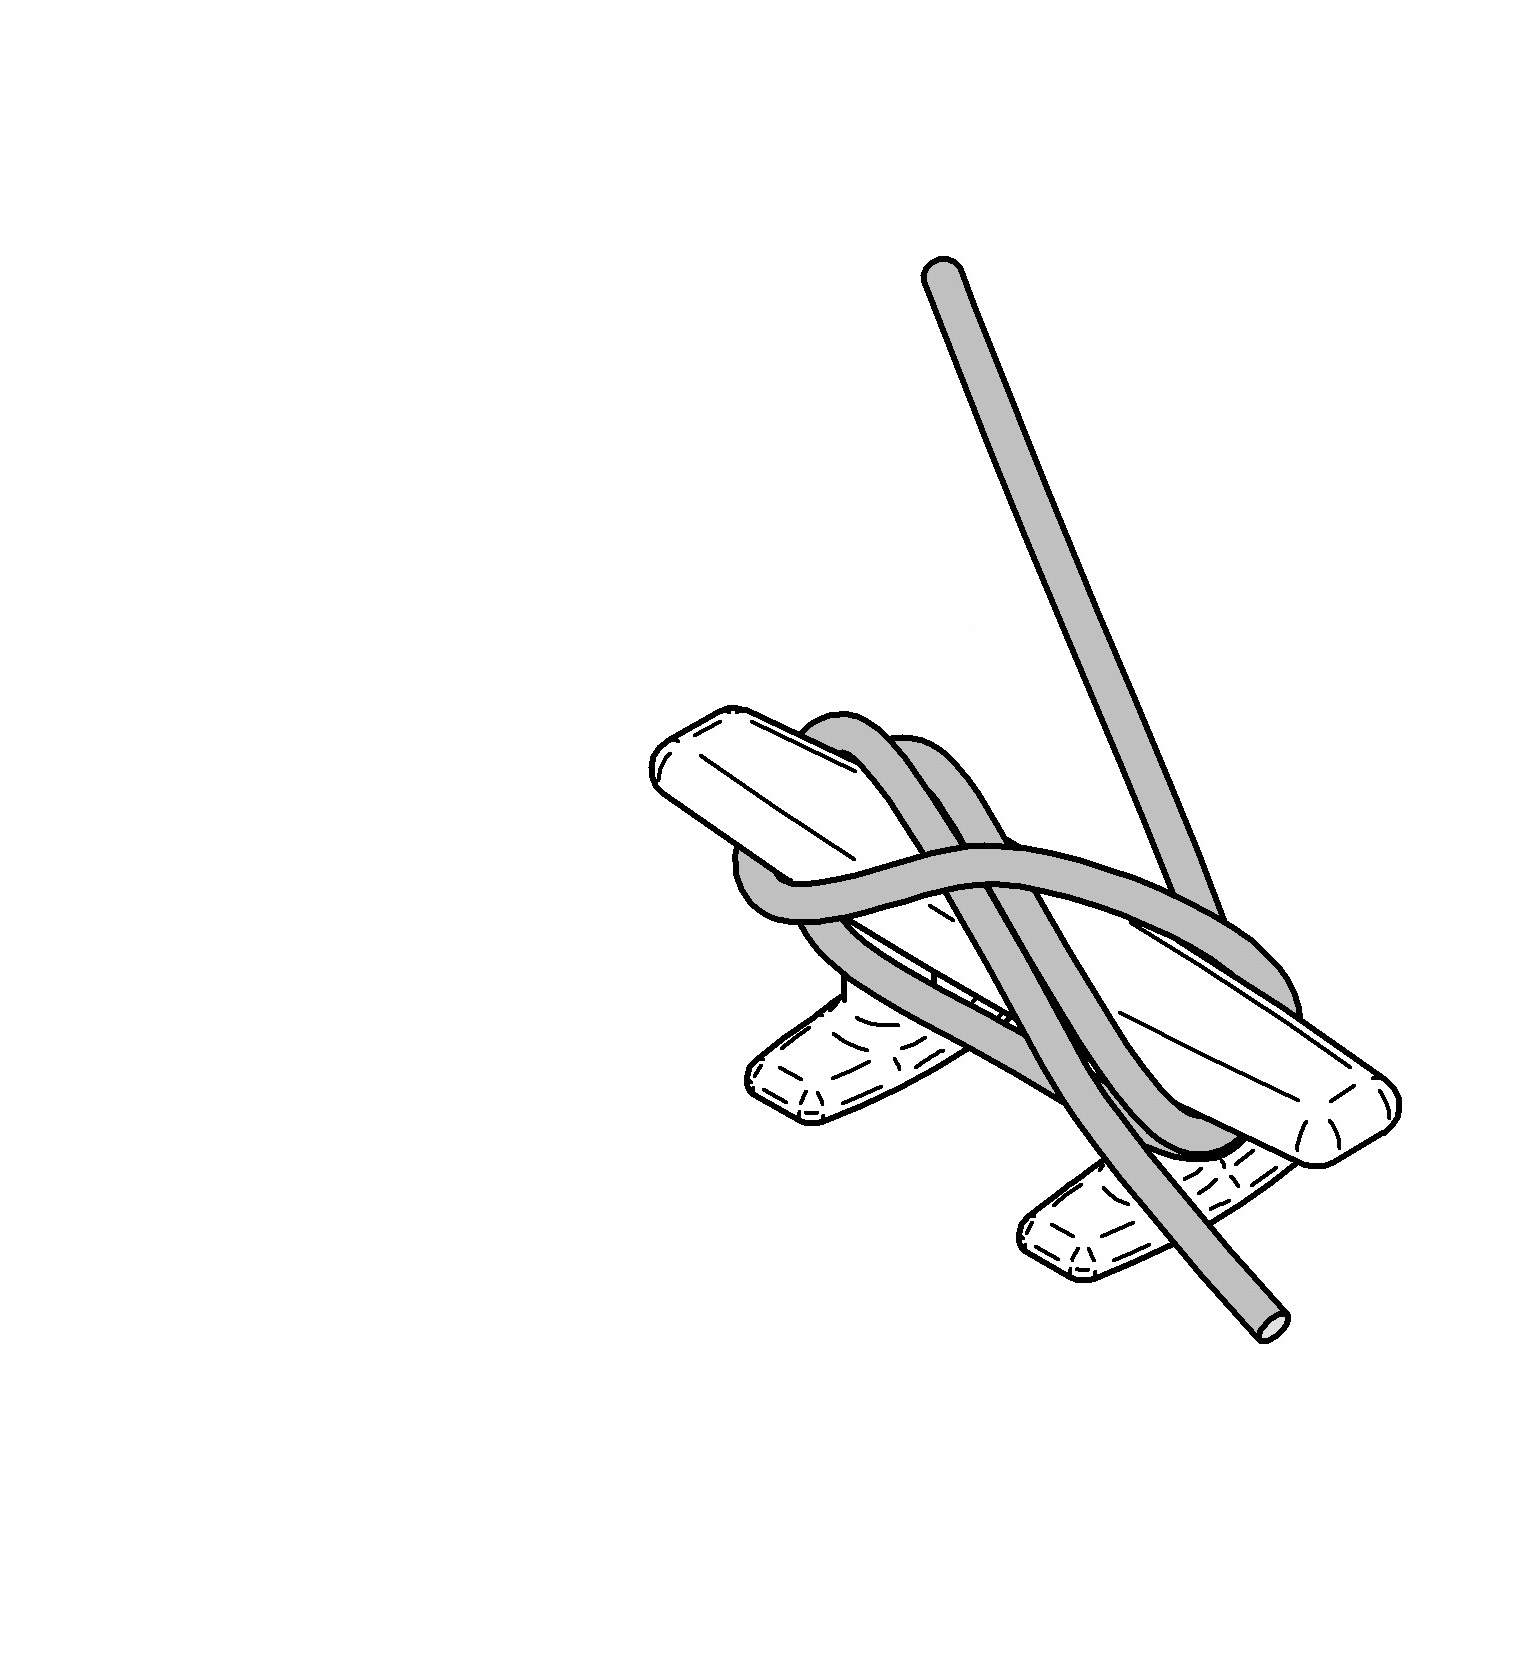
Andree Stephan, CC BY 3.0
Tip
Never wrap too many turns — three crossings plus the locking hitch is standard. Must be easy to release quickly in an emergency. The tail should NEVER point toward the load.
Common mistakes
- Piling on extra turns and locking hitches. It is hard to release quickly and can jam.
- Leading the line onto the near horn so it jams under load. Lead it to the far horn first.
- Finishing with the tail pointing towards the load, which means the locking hitch went on the wrong way.
Related knots
- How to Tie a Round Turn and Two Half HitchesHitch
- How to Tie a Clove HitchHitch
- How to Tie a Figure Eight Stopper KnotStopper
See all 8 knots in the knot guide or practise them in the knot game.