Ropework
How to Tie a Cleat Hitch on a Boat — Step by Step
Published · Last checked October 2026
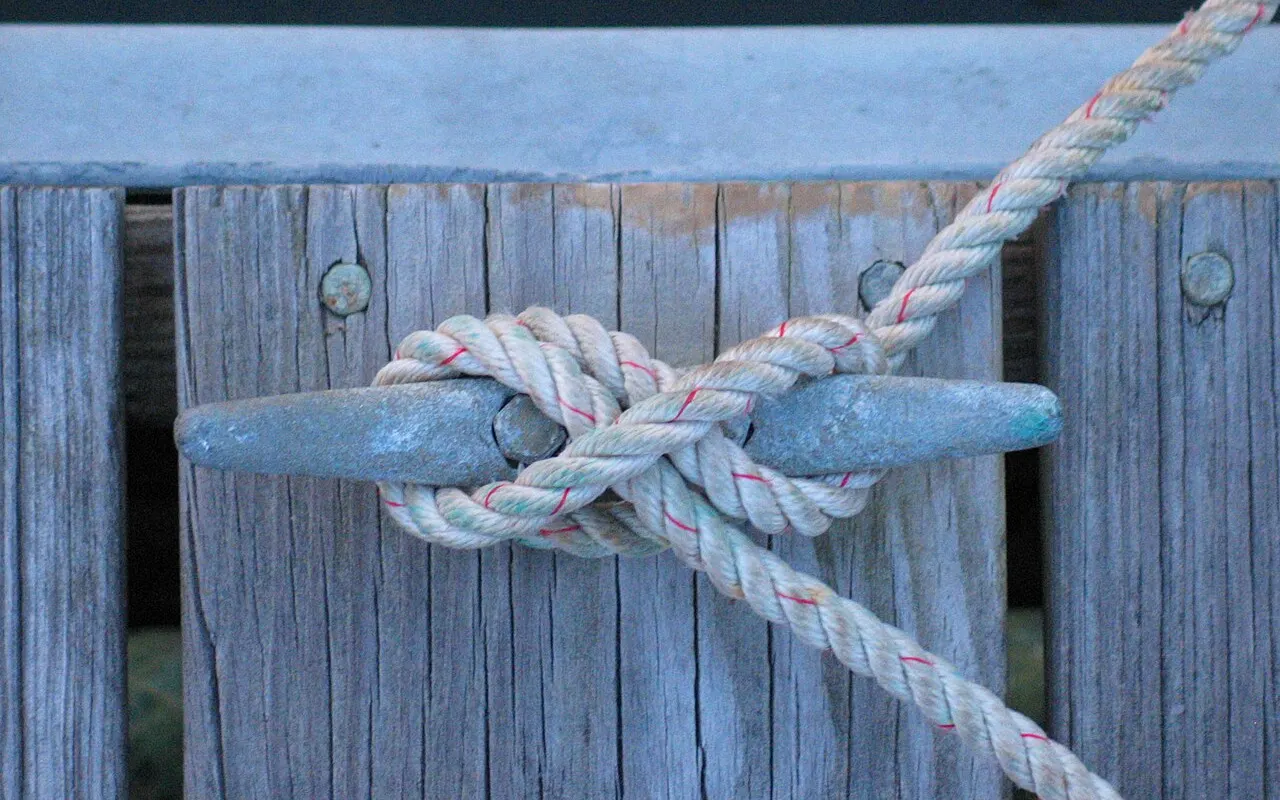
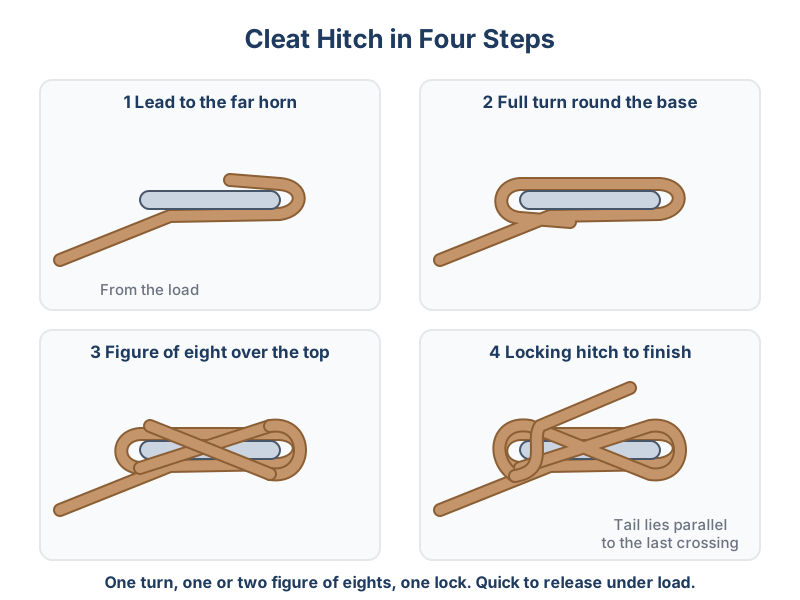
To tie a cleat hitch, lead the line to the far horn of the cleat first, take a full turn around the base, cross over the top in a figure of eight around both horns, then finish with a locking hitch (a turn flipped under itself) so the tail lies parallel with the last crossing. One turn, one or two figure-of-eights and one lock is enough: it holds firmly and can be released quickly, even under load.
Step by step
- Lead to the far horn. Bring the line to the horn furthest from where the load comes from, so the line wraps around the base without crossing itself.
- Take a full round turn around the base of the cleat, under both horns. This turn takes most of the load and lets you ease or hold the line.
- Make a figure of eight: cross diagonally over the top of the cleat, around the opposite horn, and back over the top.
- Lock it: make a small loop with the line twisted underneath, drop it over the horn and pull tight. The tail should run parallel to the previous crossing.
- Coil and stow the tail so it is clear of feet and ready to use.
Why the order matters
The round turn is what holds the load. Friction around the base lets you control a line that is pulling hard, such as a mooring line as the boat surges or a halyard you are lowering. The figure of eight crossings add grip, and the locking hitch stops the whole thing unwinding. Because nothing is jammed, you can release a cleated line under load by undoing the lock and the crossings while keeping the round turn on.
Common mistakes
| Fault | Result | Fix |
|---|---|---|
| Leading to the near horn | Line crosses itself and can jam | Always start at the far horn |
| No round turn first | Hard to hold or ease under load | Take a full turn before crossing |
| Lots of extra crossings | Slow to release, can jam | One or two figure of eights is plenty |
| Several locking hitches | Jams under load | One lock only |
| Lock tail not parallel | Looks and holds badly | Flip the loop the other way |
Variations and good habits
- On halyards and sheets that may need releasing in a hurry, some skippers leave off the locking hitch and rely on extra figure of eights, or use a jammer or clutch.
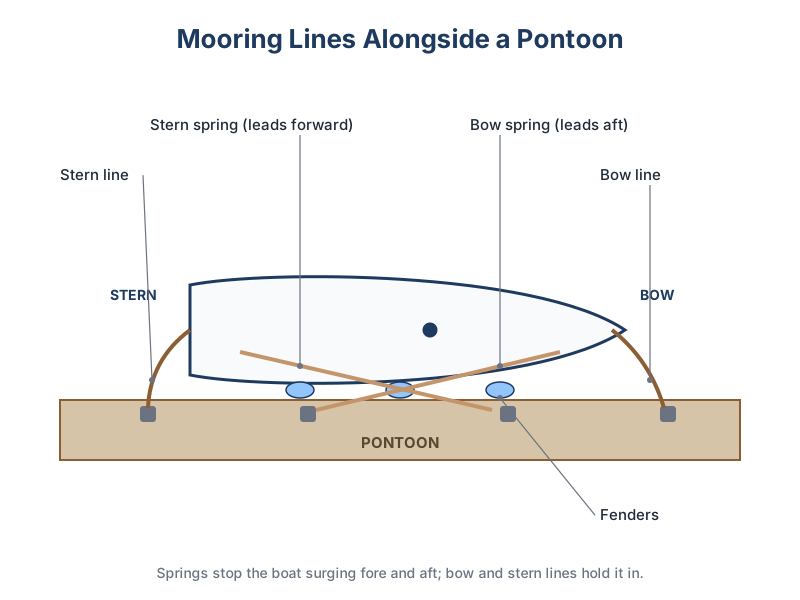
- On a mooring line, cleat ashore with a loop or bowline over the pontoon cleat and adjust the length from on board, so you can let go without stepping off.
- Never wrap a line round a cleat with your fingers between the rope and the cleat. Keep your hands back from the horns when a line is loaded.
Cleat hitches on the RYA courses
On RYA Competent Crew and Day Skipper courses you will cleat sheets, halyards and mooring lines dozens of times a day, and instructors expect a clean hitch without thinking. It is also the knot most often done badly on visiting boats. Get into the habit of checking each cleat as you pass it: a single round turn, crossings, one lock with the tail lying parallel. On a horn cleat with a heavily loaded line, keep your weight back and ease the turn slowly rather than throwing off every turn at once, or the line can run away and burn your hands.
Practise it alongside the other basics in essential sailing knots and the knots and ropework lesson. For mooring technique see how to moor a sailboat.