Position fixing
How to Take a Three-Point Fix (Compass Bearing Fix)
Published · Last checked October 2026
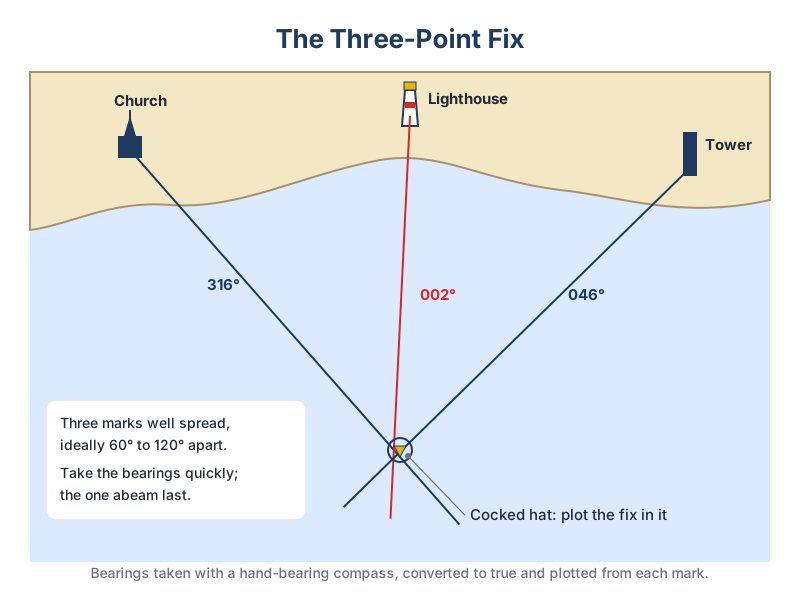
A three-point fix uses compass bearings of three charted objects. Choose conspicuous marks about 60° to 120° apart, take the bearings quickly with a hand-bearing compass (objects ahead or astern first, those on the beam last), convert them to true and plot them from the objects. Where the three lines cross is your position; the small triangle they usually form is called a cocked hat.
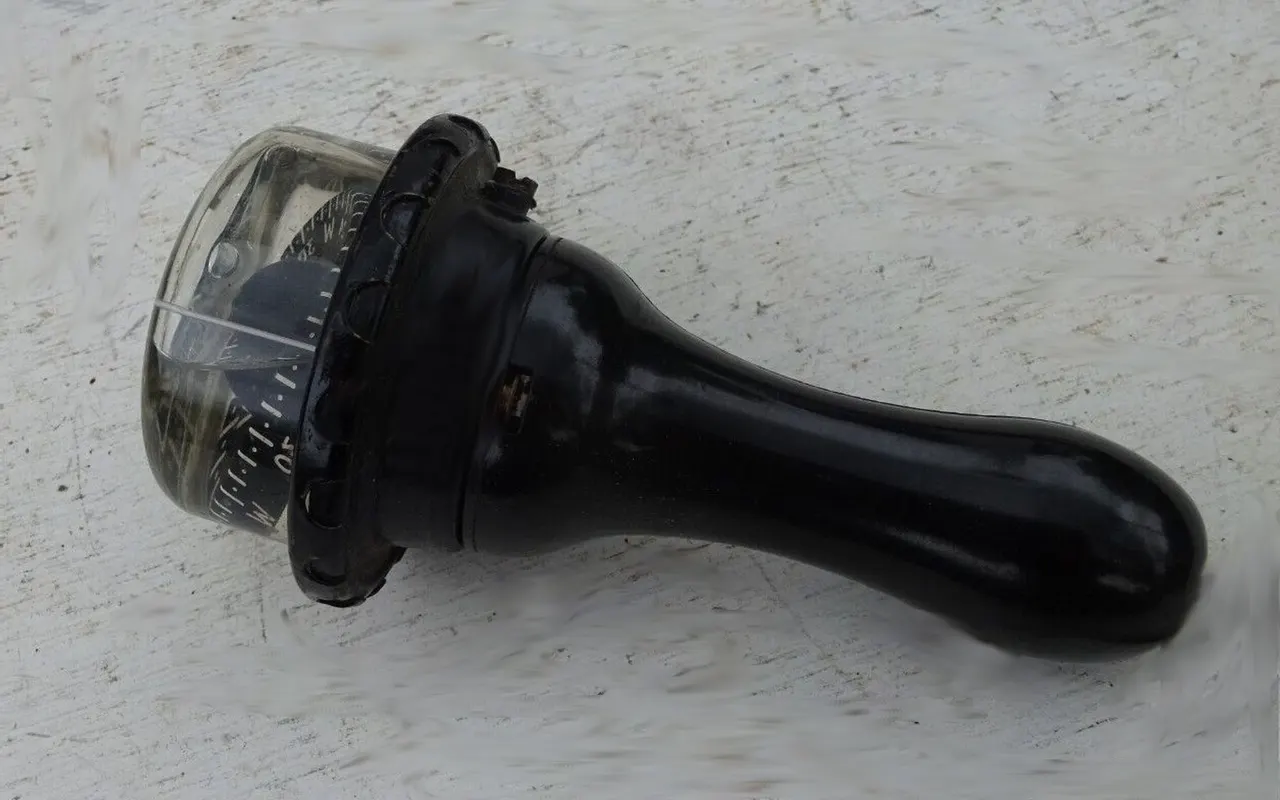
Step by step
- Pick three objects you can identify on the chart with certainty: a lighthouse, a church spire, a headland's edge, a charted beacon.
- Prefer objects about 60° to 120° apart. Two objects close together in bearing give lines that cross at a shallow angle, so a small error moves the fix a long way.
- Take the bearings in quick succession. Take objects near the bow or stern first, because their bearings change slowly; take objects on the beam last.
- Note the time and log reading.
- Convert each magnetic bearing to true (apply variation; for a hand-bearing compass, deviation is usually negligible away from metal).
- Plot each bearing as a line towards the object, and mark the fix with a circle and the time.
The cocked hat
Small errors mean the three lines rarely meet at a point. A small triangle is normal. A large one means a mistake: a misidentified object, a misread bearing or a forgotten variation. Re-take the fix. If you must use it, assume you are at the corner of the triangle nearest danger.
Other kinds of fix
- Transit and bearing: two objects in line give a very accurate position line.
- Radar range and bearing of a charted object.
- Depth contour with a bearing, as a cross-check.
- GPS, checked against at least one of the above.
Plot practice fixes in the position fixing lesson.