Buoyage
What Is an Isolated Danger Mark? Colours, Topmark and Light
Published · Last checked October 2026
An isolated danger mark is placed on, or moored over, a small danger such as a rock, wreck or shoal that has navigable water all around it. It is black with one or more broad red horizontal bands, carries a topmark of two black balls one above the other, and if lit shows a white light flashing in groups of two, Fl(2). You can pass it on either side, but give it a generous berth because the danger is right underneath.
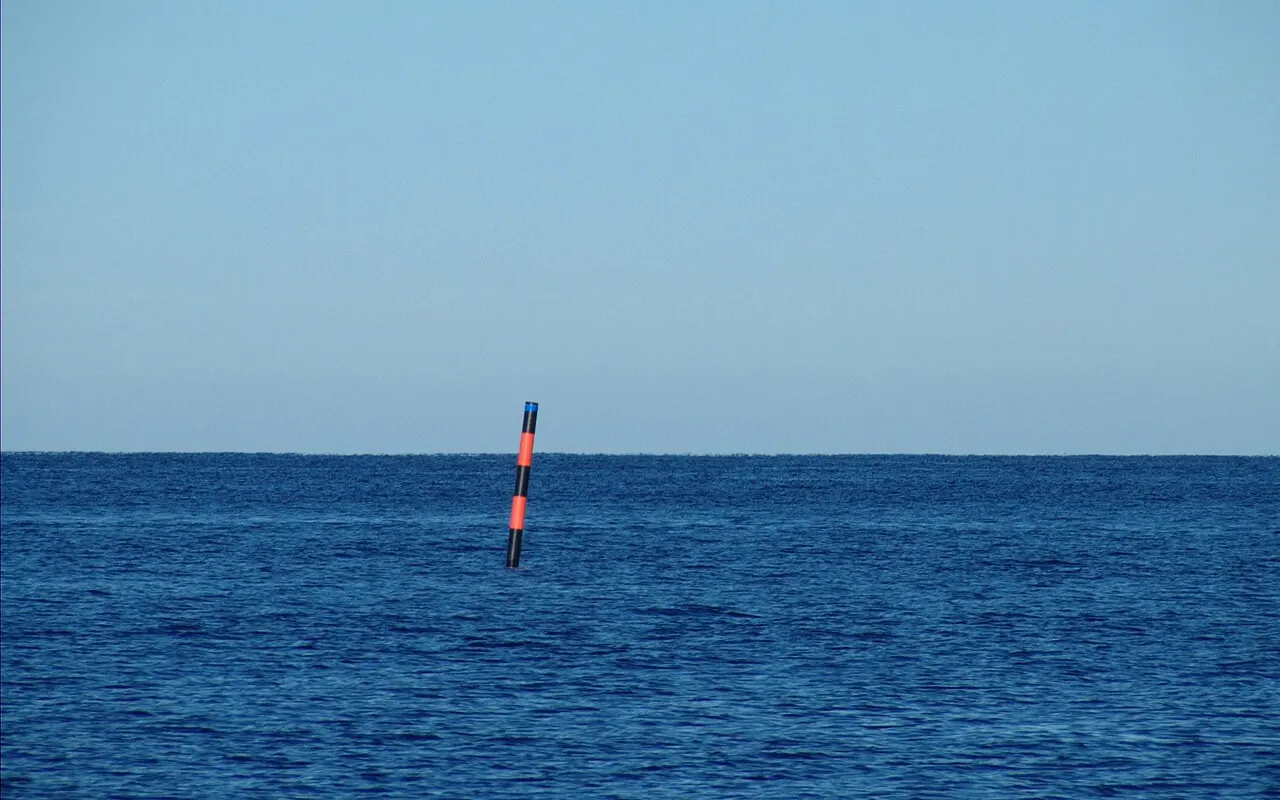
How to recognise one
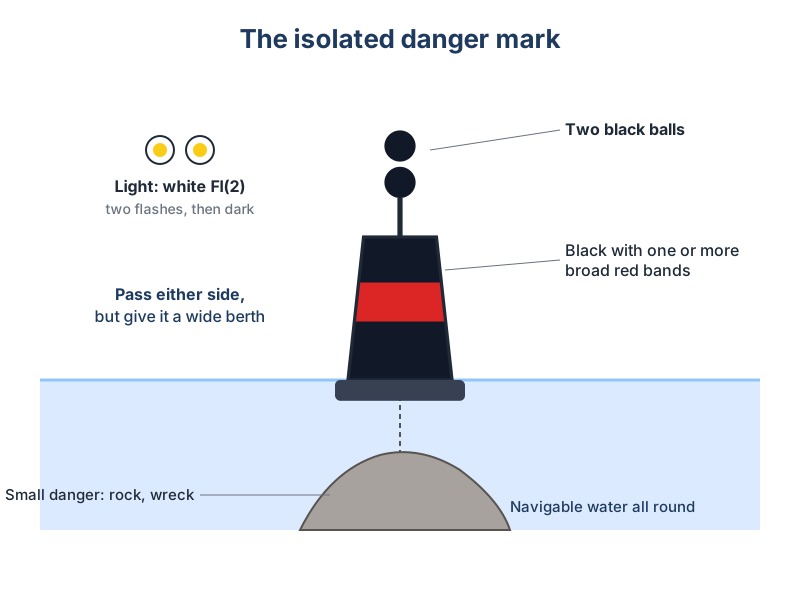
| Feature | Description |
|---|---|
| Colour | Black with one or more broad red horizontal bands |
| Shape | Pillar or spar (shape is not significant) |
| Topmark | Two black spheres, one above the other |
| Light | White, Fl(2), a group of two flashes |
A handy memory aid: the two balls and two flashes mean 'two of us: you and the danger'. The topmark is the most important daytime feature, because colours fade and get covered in weed and bird droppings.
Where you will find them
Isolated danger marks are used where a hazard is small enough to have deep water on every side. Typical examples include:
- A single rock or pinnacle in an otherwise clear bay or channel.
- An old wreck that has been surveyed and is no longer a new danger.
- A small shoal patch in open water.
For larger hazards, or where safe water lies only on one side, authorities use cardinal marks or lateral marks instead. A brand-new wreck is marked with an emergency wreck marking buoy.
How to pass an isolated danger mark
In principle you may pass either side. In practice, the danger has some extent, the buoy swings on its mooring, and tide sets you towards it. Check the chart to see how big the hazard is and how much water lies over it at the state of tide you expect, then plan a clearance that allows for tidal stream and leeway.
At night
The white Fl(2) light can be confused with other white lights, especially from a distance. Time the full period with a stopwatch and compare it with the chart: Fl(2) 5s and Fl(2) 10s are both common. Cardinal marks also use white lights but in quick or very quick flashes, and safe water marks use long or isophase rhythms, so the grouped double flash is distinctive once you know to look for it. Revise the rhythms in the buoyage and lights lesson.
On the chart and in practice
On the chart an isolated danger mark appears as a buoy or beacon symbol with the two-ball topmark drawn above it and the abbreviation 'BRB' (black, red, black) beside it, along with its light characteristic. Look closely at the depth beside the hazard: a rock may dry at low water but be covered by a metre or two at high water, which is exactly when it is most dangerous to a yacht sailing on a fine reach. Isolated danger marks may also be fixed beacons built on the rock itself, especially in Scottish and Channel Islands waters. A beacon cannot drag, but it still sits on the hazard.
Some isolated dangers are not marked at all. The presence of a buoy is a bonus, not a guarantee, so your chartwork should always show hazards near your track whether marked or not.